We have prepared a little treat for ORBIT Lab members, available from the coming semester.
As many of you know, we have a dedicated room for VR development, with an HTC Vive Pro dangling from the ceiling, powered by the Rolls Royce of Alienware computers.
Now we also have a dedicated lab for content creation. We have chosen to call it MediaLab, since this is the place where you can create all the content you need to promote your products on all media, and where you can create amazing looking material for your reports and portfolio.


In (and around) the MediaLab is the following equipment (some of it has to be borrowed through ORMS):
- Olympus OM-D E-M10 Mark III camera with a 12-60mm Panasonic Lumix Lens.
This camera can take 16mp pictures of your prototypes and shoot 4k25fps video of your App-demos. - Greenscreen.
Yes, that’s right. A greenscreen! - Beefy computer of mighty creativity.
Featuring a Ryzen 1700 octacore processor, GeForce GTX 1080 graphics card and 32gigs of RAM, this computer is an absolute beast for 3D-rendering, CAD’ing, video/photo-editing and training ML models. - Studio microphone.
Amazing for doing voiceovers of videos or recording sound effects. - Prusa i3 Mk2S (with multi material kit soon) 3D printer.
We want ORBIT Lab to have all facilities needed to go from sprouting idea to finalized prototype – and a 3D printer is an amazing tool for prototype development. - Photography Lightbox.
This makes it super easy to take well lit pictures with a neutral white background for your reports. This also makes it a lot easier to remove the background from images, if a product image with transparent background is high priority.
The following material is all promotional material (for the upcoming round of Orbies, of course), that I have created in the ORBIT Media Lab, to show some of the content that you can create with the abovementioned equipment.
I have attached a little description of how every piece of content came into life.
Timelapse of 3D print:
The timelapse was made using the built-in timelapse function of the Olympus camera. The camera outputs individual pictures, so you can do your own postprocessing, but it also creates a .mov file with the timelapse out of the box. This timelapse is an out of the box video from the camera. After creating this I have found a method for creating layer-by-layer timelapses with a Raspberry Pi and the Pi Camera. Stay tuned for project “Create-better-timelapses-of-awesome-3D-prints”.
3D render:

This rendering is based on the 3D-model that we use to print the Orbies awards. The 3D-model was remixed in Rhino (installed on MediaLab PC), based on another model I found online. The rendering is made in Blender Render (installed on MediaLab PC) with Cycles, using a fairly complicated setup of material nodes and textures.
Photograph:

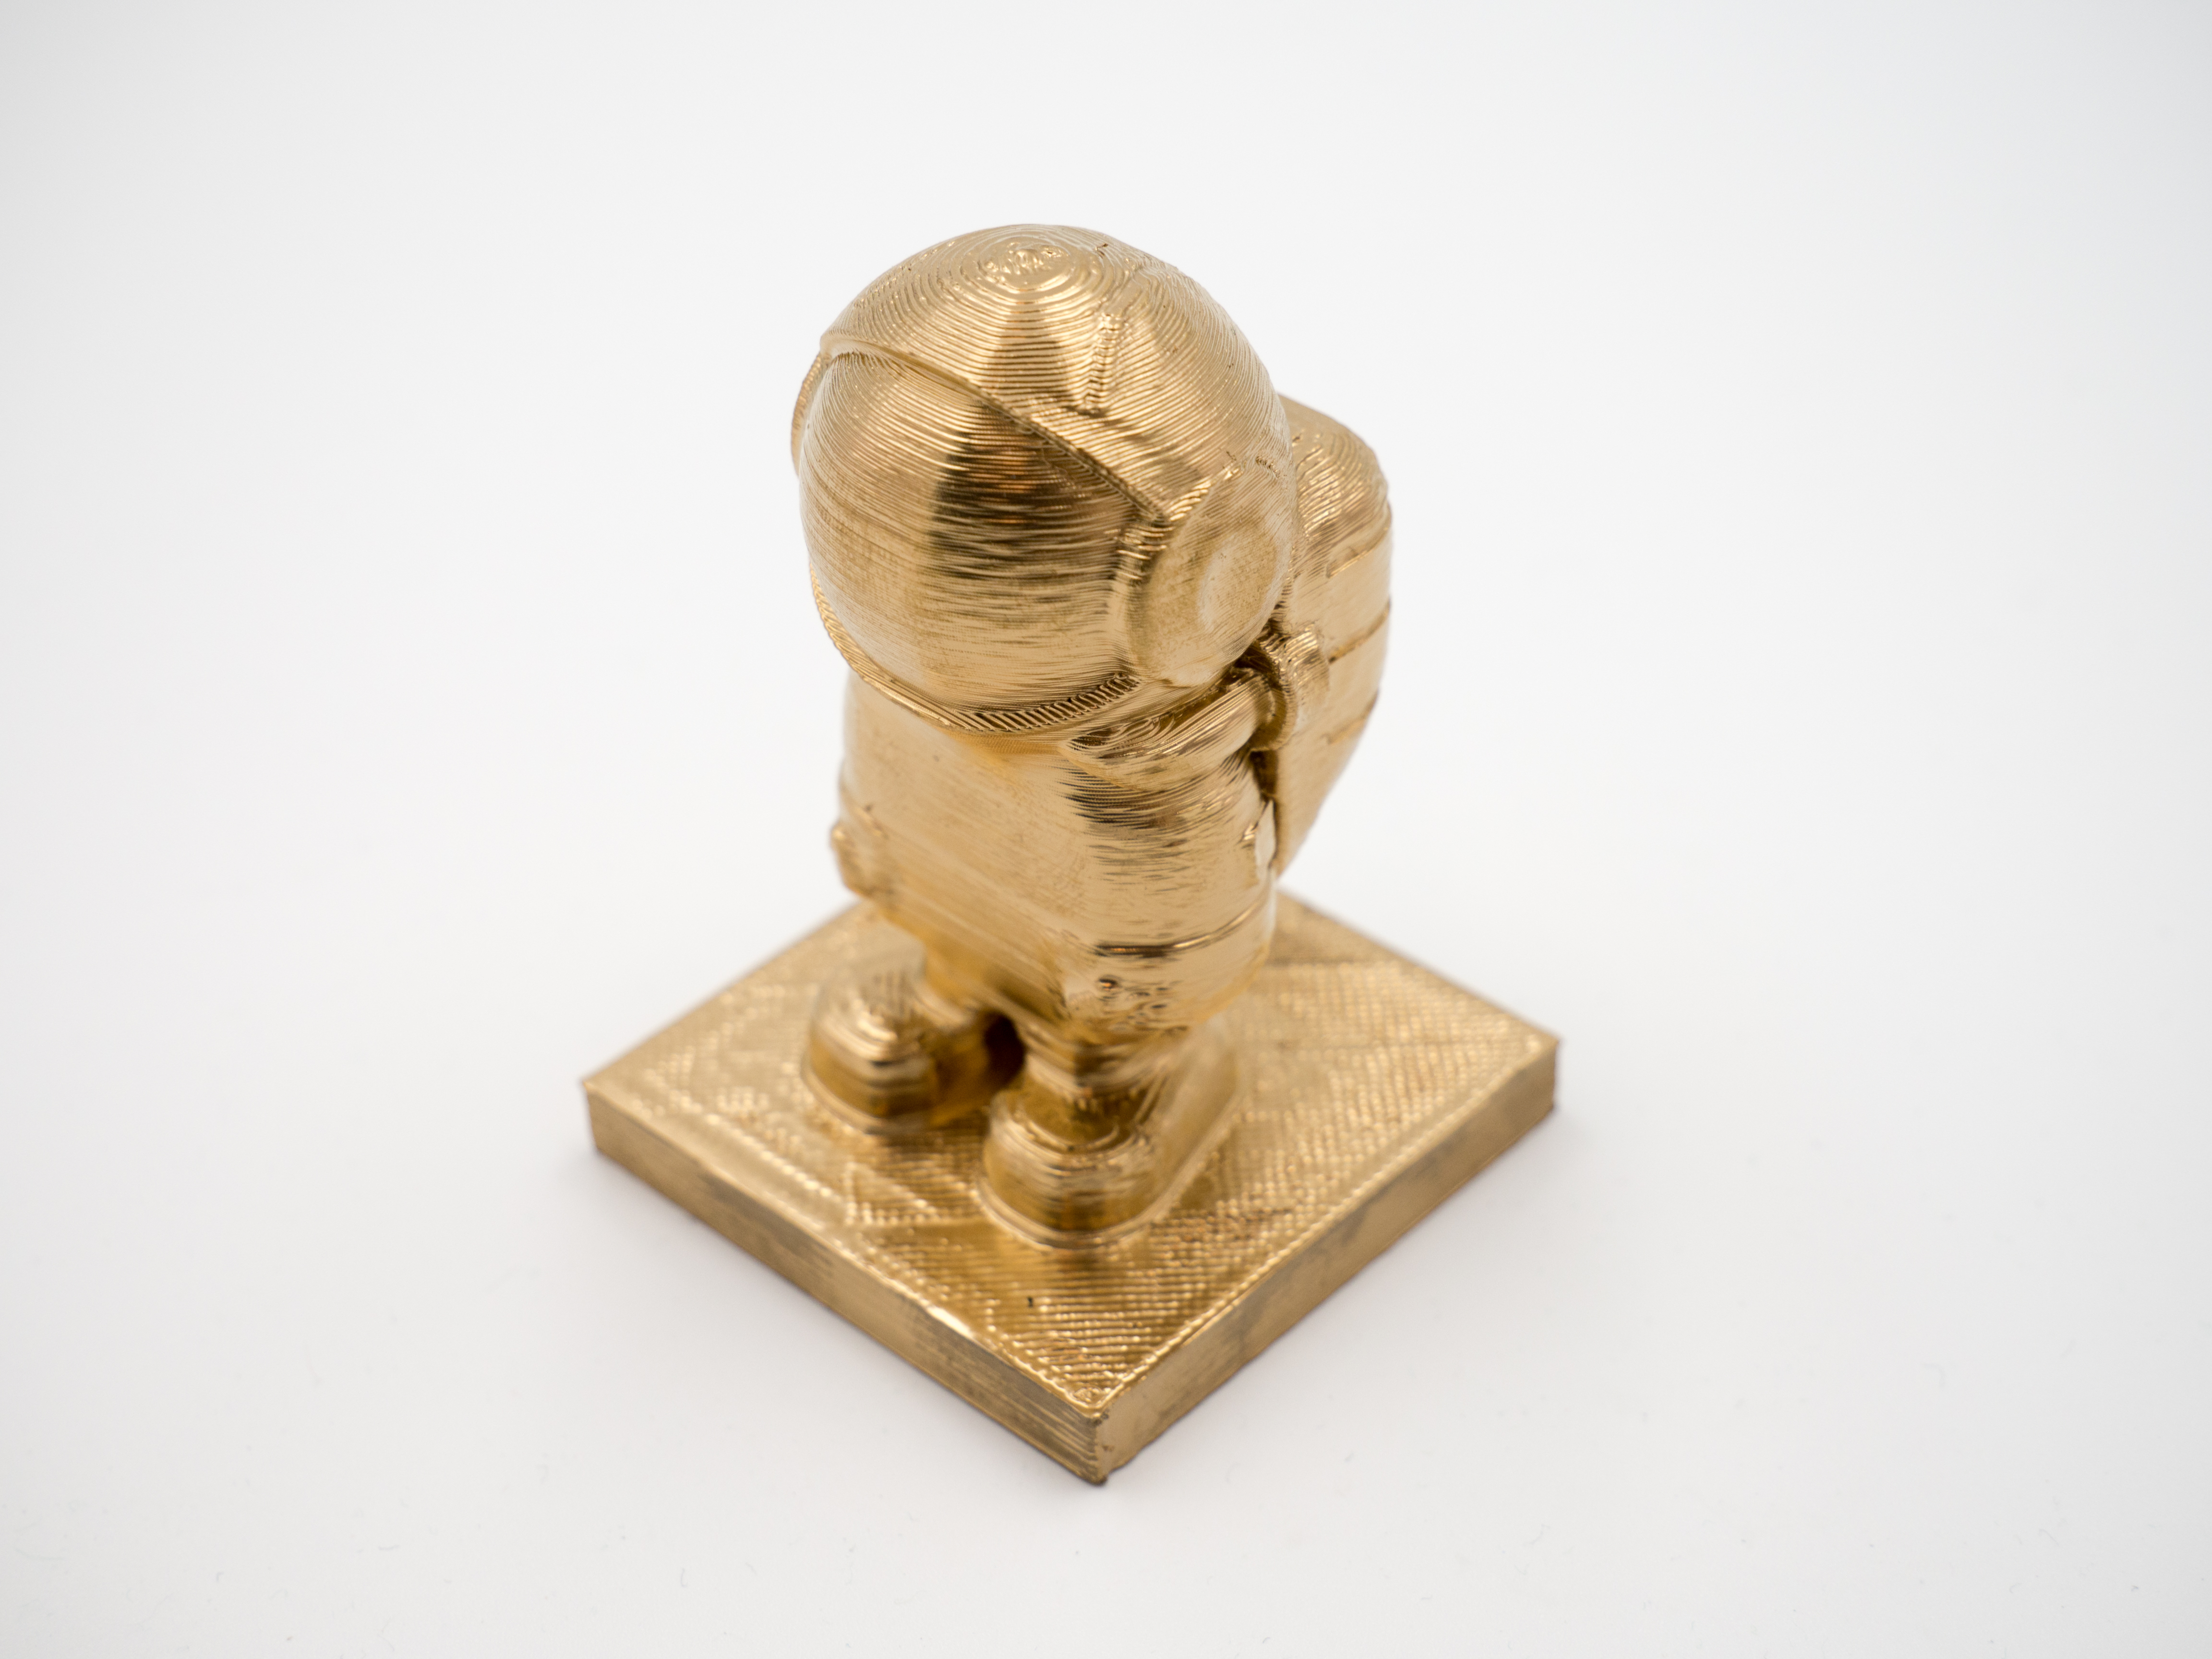
This photograph was taken at the lightbox in the MediaLab using the ORBIT Olympus OM-D E-M10 Mark III with the Lumix 12-60mm lens. The picture was taken using a f5.6 aperture, shutter speed 1/200, ISO 200 and a focal length of 30mm. No flash was used, all lighting came from the lightbox.
Video:
Filmed with the ORBIT Olympus camera in 4k25fps in front of the greenscreen. A Manfrotto Action tripod (located in the MediaLab) was used for the camera, and lighting was done with the two mobile Walimex 16 watt Walimex lights.
Editing was done in Adobe Premiere Pro, greenscreen removed using the “Ultra Key”-effect, voiceover was done with the Blue Snowball microphone that is located in the MediaLab using Audacity audio software (installed on MediaLab PC), and soundeffects came from freesound.org.
I hope this overview of what can be found in the MediaLab, and the few content examples was helpful or maybe even inspiring.
Make sure to contact me if you have any questions or want access to the MediaLab (you of course have to become an ORBIT member first).
Remember: Visual aesthetics is important!
Lab Manager Simon
Email: simon@ase.au.dk

